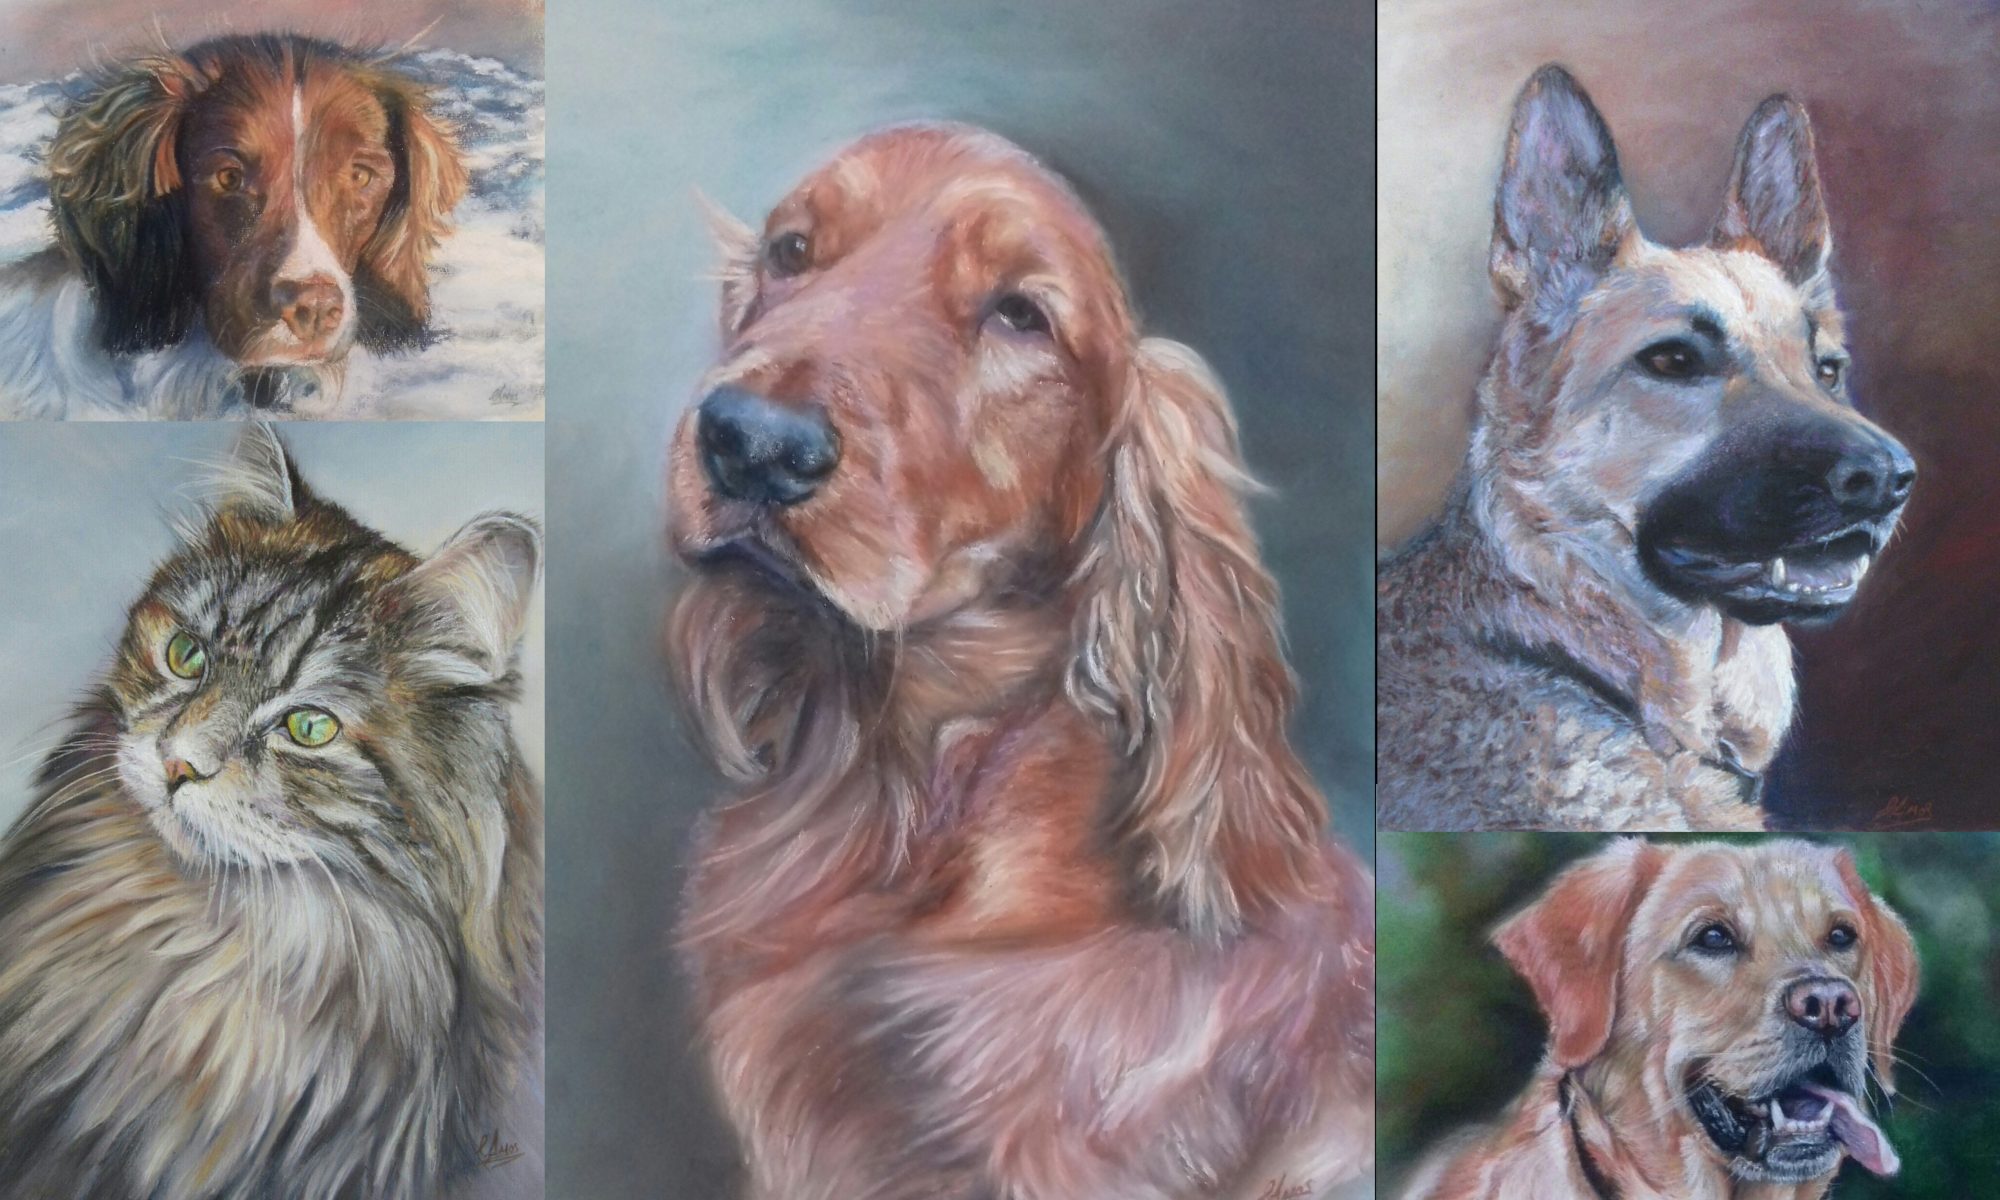
I love working with charcoal as it is such a malleable medium allowing it to be moved and lifted easily. Unlike graphite pencils, it does not have a ‘sheen’ and so looks the same from any angle.
I recently completed a couple of pictures in charcoal that were commissioned by a Grandmother as Mothers Day presents for her two daughters. Having met these two wee boys in person I am glad I work from photos as they never seem to stop moving. Hopefully their high energy is still apparent in the finished portrait as was obvious in the original photo their mother had captured. Select the image below for the before and after view.
The Boys
Framed
The original photograph of ‘Lily’ was very bright making balancing the tone a challenge. To compensate I placed charcoal over the whole portrait and then lifted only the very the lightest tones with a putty rubber .
Lily
Only a limited toolkit is needed comprising of:
Charcoal sticks – used on their edge for broad strokes or fine detail using the tip.
Charcoal pencils in varying tones white to black – great for fine detail around the eyes an hair.
A couple of coloured pastels – useful when doing animals to add a touch of colour.
Putty rubber – used to lift the charcoal off the paper to adjust tone.
Sharpened rubber – useful for adjusting detail areas.
Tortillons for blending – used for blending detail areas where fingers just wont do.
A very sharp knife – I tend not to use a sharpener, preferring to use the knife. The sharpener more often than not breaks the top off, especially with pastel pencils.
Sandpaper – to get a very sharp point to pencils or to grind down charcoal. Ground charcoal is good for applying with your fingertip to get soft areas on the skin without leaving lines.
Toolkit
A rubber/eraser was used to pick out and ‘draw’ the fur detail in the picture below.
Picking the light out with a rubber
It’s pretty messy to work with, much like pastels, but as long as you keep something handy to keep clean (wet wipes or damp cloth), then your hands and work area will stay clean.
To keep the paper clean I tend to use an old tile or piece of tracing paper (the separator pages from Ingres paper pad come in handy).
The ever changing Scottish winter light is never great for indoor photography, even with a flash, so although I do use white paper, it is not always apparent from the photographs of the finished artworks.
Very pleased to have Tsuki framed and on the wall. I asked for “ArtGlass” for a change. The glass reduces reflection and keeps the true colours of the picture. it certainly makes a difference.
Thanks to @cuttingcornersframe for the professional job.
This website uses cookies so that we can provide you with the best user experience possible. Cookie information is stored in your browser and performs functions such as recognising you when you return to our website and helping our team to understand which sections of the website you find most interesting and useful.
You can adjust all of your cookie settings by navigating the tabs on the left hand side (above on mobile).
Strictly Necessary Cookies
Strictly Necessary Cookie should be enabled at all times so that we can save your preferences for cookie settings.
If you disable this cookie, we will not be able to save your preferences. This means that every time you visit this website you will need to enable or disable cookies again.
3rd Party Cookies
This website uses Google Analytics and Jetpack to collect anonymous information such as the number of visitors to the site, and the most popular pages.
Keeping this cookie enabled helps us to improve our website.
Please enable Strictly Necessary Cookies first so that we can save your preferences!